Chapter 5 Your First Widget
The previous chapter gave some indication as to how widgets work, but this is overall probably still shrouded in mystery. This chapter aims at demystifying what remains confusing. That is done by building a very basic widget to rummage through its components to observe how they interact and ultimately grasp a greater understanding of how such interactive outputs are actually produced.
5.1 The Scaffold
Though one could probably create widgets outside of an R package, it would only make things more complicated. Htmlwidgets naturally take the form of R packages and are stunningly simple to create. Below we create a package named “playground,” which will be used to mess around and explore.
Then, from the root of the package created, we scaffold a widget which we call “play.”
This function puts together the minimalistic structure necessary to implement an htmlwidget and opens play.R, play.js, and play.yaml in the RStudio IDE or the default text editor.
You can scaffold multiple widgets in a single package.
These files are named after the widget and will form the core of the package. The R file contains core functions of the R API, namely the play function, which creates the widget itself, and the render* and *output functions that handle the widget in the Shiny server and UI, respectively. The .js file contains JavaScript functions that generate the visual output.
It might be hard to believe, but at this stage one already has a fully functioning widget ready to use after documenting, and building the package. Indeed, the play.R file that was created contains a function named “play,” which takes, amongst other arguments, a message.
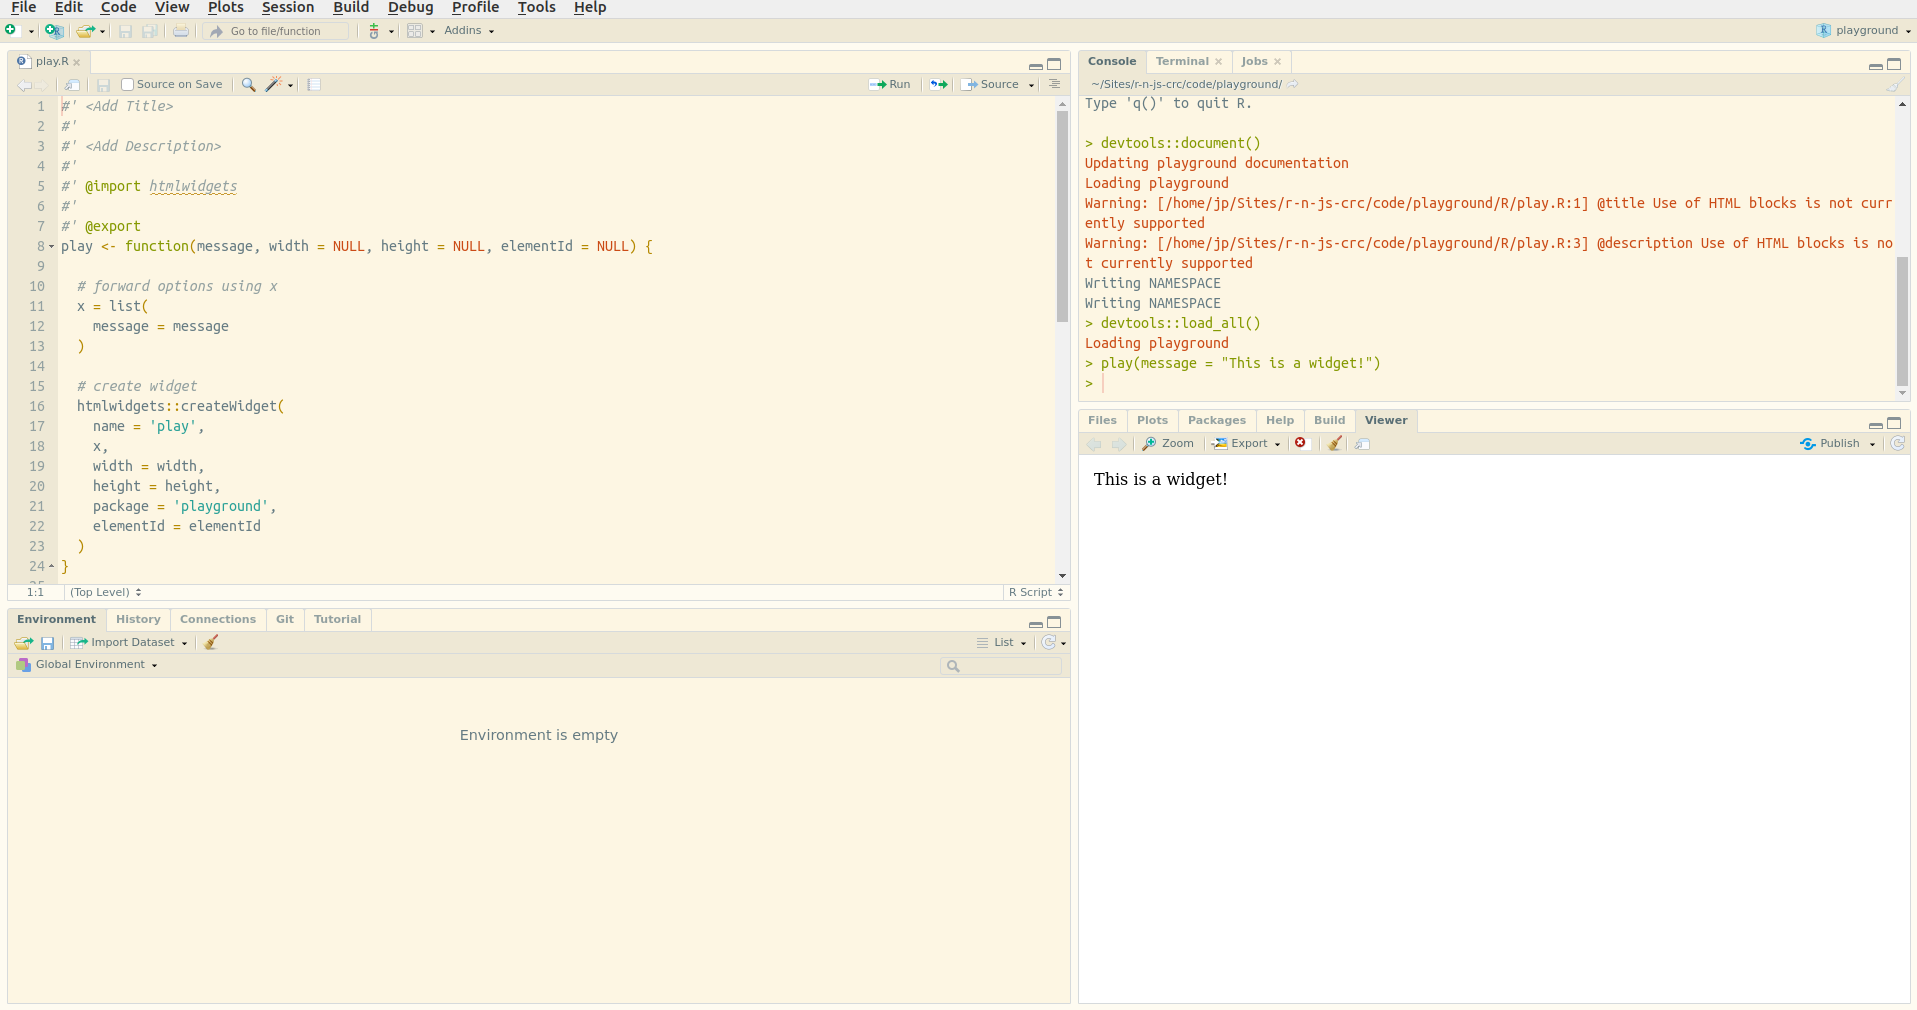
FIGURE 5.1: First widget
Figure 5.1 displays the message in the RStudio “Viewer,” or your default browser; indicating the function does indeed create an HTML output. One can use the  button located in the top right of the RStudio “Viewer” to open the message in the web browser, which can prove very useful to look under the hood of the widgets for debugging.
5.2 The HTML Output
With an out-of-the-box htmlwidget package, one can start exploring the internals to understand how it works. Let us start by retracing the path taken by the message written in R to its seemingly magical appearance in HTML. The play function previously used, takes the message wraps it into a list which is then used in htmlwidgets::createWidget.
Wrapping a string in a list might seem unnecessary, but one will eventually add variables when building a more complex widget, starting with a list makes it easier to add them later on.
To investigate the widget we should look under the hood; the source code of the created (and rendered) output can be accessed in different ways, 1) by right-clicking on the message displayed in the RStudio Viewer and selecting “Inspect element,” or 2) by opening the visualisation in your browser using the button located in the top right of the “Viewer,” and in the browser right-click on the message to select “Inspect.” The latter is advised as web browsers such as Chrome or Firefox provide much friendlier interfaces for such functionalities. They also come with shortcuts to inspect or view the source code of a page.
Below is a part of the <body> of the output of play("This is a widget!") obtained with the method described in the previous paragraph.
<div id="htmlwidget_container">
  <div
    id="htmlwidget-c21cca0e76e520b46fc7"
    style="width:960px;height:500px;"
    class="play html-widget">
    This is a widget!
  </div>
</div>
<script
  type="application/json"
  data-for="htmlwidget-c21cca0e76e520b46fc7">
  {"x":{"message":"This is a widget!"},"evals":[],"jsHooks":[]}
</script>
One thing the source code of the rendered output reveals is the element (<div>) created by the htmlwidgets package to hold the message (the class name is identical to that of the widget, play), as well as, below it, in the <script> tag, the JSON object which includes the x variable used in the play function. The div created bears a randomly generated id which one can define when creating the widget using the elementId argument.
<!-- div bears id specified in R -->
<div id="myViz"
  style="width:960px;height:500px;"
  class="play html-widget">
  This is another widget
</div>
You will also notice that this affects the script tag below it, the data-for attribute of which is also set to “myViz;” this indicates that it is used to tie the JSON data to a div, essential for htmlwidgets to manage multiple visualisations in R markdown or Shiny for instance. Then again, this happens in the background without the developer (you) having to worry about it.
<script type="application/json"
  data-for="myViz">
  {"x":{"message":"This is a widget!"},"evals":[],"jsHooks":[]}
</script>
Inspecting the output also shows the dependencies imported, these are placed within the head HTML tags at the top of the page.
<script src="lib/htmlwidgets-1.5.1/htmlwidgets.js"></script>
<script src="lib/play-binding-0.0.0.9000/play.js"></script>
This effectively imports the htmlwidgets.js library and the play.js file, were the visualisation depending on external libraries they would appear alongside those JavaScript files.
5.3 JavaScript Files
Peaking inside the play.js file located at inst/htmlwidgets/play.js reveals the following code:
// play.js
HTMLWidgets.widget({

  name: 'play',

  type: 'output',

  factory: function(el, width, height) {

    // TODO: define shared variables for this instance

    return {

      renderValue: function(x) {

        // TODO: code to render the widget, e.g.
        el.innerText = x.message;

      },

      resize: function(width, height) {

        // TODO: code to re-render the widget with a new size

      }

    };
  }
});
However convoluted this may appear at first, do not let that intimidate you. The name of the widget (play) corresponds to the name used to generate the scaffold, it can also be seen in the createWidget function used inside the play.R file.
htmlwidgets::createWidget(
  name = 'play',
  x,
  width = width,
  height = height,
  package = 'playground',
  elementId = elementId
)
This is so htmlwidgets can internally match the output of createWidget to its JavaScript function. At this stage, it is probably fair to take a look at the diagram (Figure 5.2) of what is happening.
FIGURE 5.2: htmlwidgets internals visualised
The factory function returns two functions, resize and renderValue. The first is used to resize the output dynamically; it is not relevant to this widget and is thus tackled later on. Let us focus on renderValue, the function that renders the output. It takes an object x from which the “message” variable is used as the text for object el (el.innerText). The object x passed to this function is actually the list of the same name that was built in the R function play! While in R one would access the message in list x with x$message in JavaScript to access the message in the JSON x one writes x.message, only changing the dollar sign to a dot. Let us show this perhaps more clearly by printing the content of x.
We place console.log to print the content of x in the console, reload the package with devtools::load_all and use the function play again, then explore the console from the browser (inspect and go to the “console” tab).
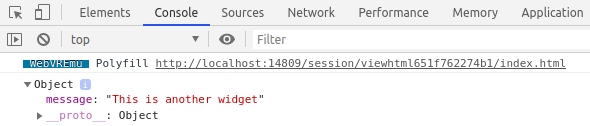
FIGURE 5.3: Console log JavaScript object
Firgure 5.3 displays the JSON object containing the message: it looks eerily similar to the list that was created in R (x = list(message = "This is a widget!")). What one should take away from this is that data that needs to be communicated from R to the JavaScript function should be placed in the R list x. This list is serialised to JSON and placed in the HTML output in a script tag bearing a data-for attribute that indicates which widget the data is destined for. This effectively enables htmlwidgets to match the serialised data with the output elements: data in <script data-for='viz'> is to be used to create a visualisation in <div id='viz'>.
Serialisation will make for an important section in a later chapter.
Before we move on to other things one should also grasp a better understanding of the el object, which can also be logged in the console.

FIGURE 5.4: Console log HTML element
Figure 5.4 displays the HTML element created by htmlwidgets that is meant to hold the visualisation or, in this case, the message. If you are familiar with JavaScript, this is the element that would be returned by document.getElementById. This object allows manipulating the element in pretty much any way imaginable: change its position, its colour, its size, or, as done here, insert some text within it. What’s more one can access attributes of the object just like a JSON array. Therefore, one can log the id of the element.
Making the modifications above and reloading the package, one can create a widget given a specific id and see it displayed in the console, e.g.: play("hello", elementId = "see-you-in-the-console").
In an attempt to become more at ease with this setup, let us change something and play with the widget. Out-of-the-box htmlwidgets uses innerText, which does very much what it says on the tin, it places text inside an element. JavaScript comes with another function akin to innerText, innerHTML. While the former only allows inserting text, the latter lets one insert any HTML.
After changing the play.js file as above, and re-loading the package, one can use arbitrary HTML as messages as shown in Figure 5.5.
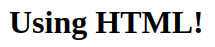
FIGURE 5.5: First widget output
That makes for a significant improvement, which opens the door to many possibilities. However, the interface this provides is unintuitive. Albeit similar, R users are more familiar with Shiny and htmltools (Cheng et al. 2021) tags than HTML tags, e.g.: <h1></h1> translates to h1() in R. The package should allow users to use those instead of forcing them to collapse HTML content in a string. Fortunately, there is an effortless way to obtain the HTML from those functions: convert it to a character string.
html <- shiny::h1("HTML tag")

class(html)
#> [1] "shiny.tag"

# returns string
as.character(html)
#> [1] "<h1>HTML tag</h1>"
Implementing this in the play function will look like this.
Reloading the package with devtools::load_all lets one use Shiny tags as the message as demonstrated in Figure 5.6.

FIGURE 5.6: First widget using Shiny tags
This hopefully provides some understanding of how htmlwidgets work internally and thereby helps to build such packages. To recapitulate, an HTML document is created in which div is placed and given a specific id; this id is also used in a script tag that contains JSON data passed from R so that a JavaScript function we define can read that data in and use it to generate a visual output in a div. However, as much as this section covered, the topic of JavaScript dependencies was not touched, this is approached in the following section where we build another, more exciting widget, which uses an external dependency.
References
Cheng, Joe, Carson Sievert, Winston Chang, Yihui Xie, and Jeff Allen. 2021. Htmltools: Tools for Html. https://github.com/rstudio/htmltools.